Angular 2/4/5 Services Tutorial with Example
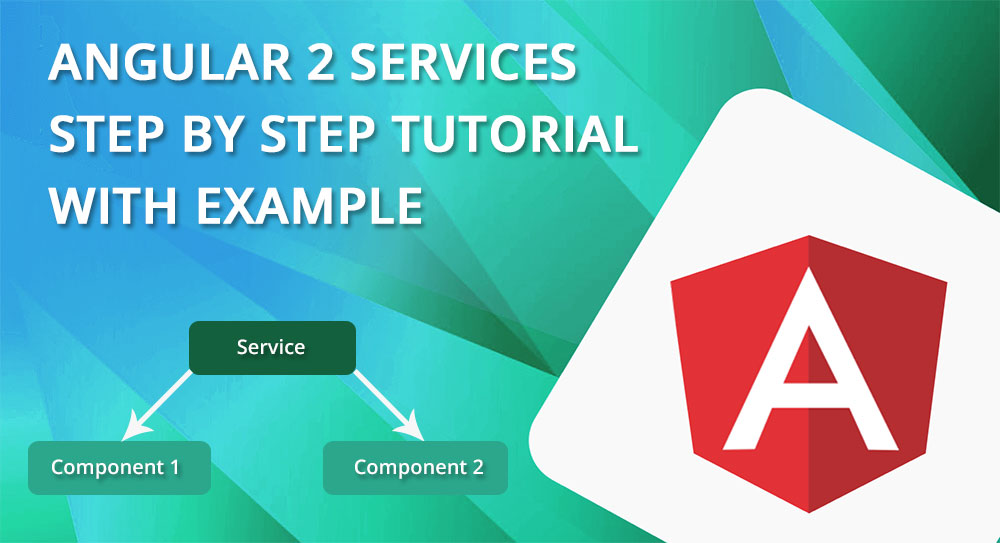
A service is created and used when a we want use common functionality to various modules. Services are a great way to share information among components that don’t know each other. You can create a common service and inject that service in to many components.
In a real world application you will surely run in a scenario, in which you may need to use some functionality, code or data in to many places of your application. Many times may need to reuse or share information between many components. In this scenario its a wise choice to make an Angular Service.
An angular service is simply a code snippets or a function that allows you to access its defined properties and methods in various components. It allow you to write your logic at one place and reuse or share same logic on many places.
Now let’s Create a demo angular Service step by step:
Step 1: Create the Service File
In your angular app create a blank .ts something like post-service.ts
I recommend you to create each component and service in your application using AngularCLI, Its time saving and reduce manual task.
To create a service, with Angular CLI run below command
|
1 |
ng g s post-service.ts |
Step 2: Import the Injectable Member in service file.
At the top of your new services file, add:
|
1 |
import { Injectable } from '@angular/core'; |
If you have created service with angular CLI, this line will automatically added in service file, otherwise you may need to import Injectable manually.
Step 3: Working with service file
We have created a service using Angular CLI, which look like below.
|
1 2 3 4 5 6 7 8 |
import { Injectable } from '@angular/core'; @Injectable() export class PostsService { constructor() { } } |
Here the @Injectable() decorator emits the metadata associated with this service. The @Injectable() decorator tells Angular with the help of some metadata, that this service might itself have injected dependencies. For now we doesn’t have dependencies but it will soon.
For demo we are using dummy API for post data. With the help of this dummy API we fetch title and content from its service and display on it’s component file.
|
1 2 3 4 5 6 7 8 9 10 11 12 13 |
import { Injectable } from '@angular/core'; import { Http, Response } from '@angular/http'; @Injectable() export class PostsService { constructor(private http:Http) { } getPostData(){ return this.http.get("https://jsonplaceholder.typicode.com/posts").map((res:Response) => res.json()); } } |
In the above code we have used Http module for getting data from API and Response Module for storing that data in API response object.
In the construct function we have create an http object of Http, with the help of this http object we get response from our JSON file.
Step 4: Importing that Service in to Component.
Till now we created a method getPostData(), that fetch the data from JSON file. Now we have to process that data into our component so that it can be view.
|
1 2 3 4 5 6 7 8 9 10 11 12 13 14 15 16 17 |
import { Component, OnInit } from '@angular/core'; import { PostsService } from '../post-service'; // Importing Service in component. @Component({ selector: 'app-post-listing', templateUrl: './post-listing.component.html', styleUrls: ['./post-listing.component.css'] }) export class PostListingComponent implements OnInit { postDataListing: any = []; // Create an empty array constructor(private PostsServiceList: PostsService) { } // Creating object of PostService Class ngOnInit() { this.PostsServiceList.getPostData().subscribe(data => this.postDataListing = data); } } |
- First we need to import post service in our component so that we can access it’s
getPostData()method. - postDataListing: any = []; Create an empty array of type any[]
- private PostsServiceList: PostsService) { } Creating an object of PostService Class
- ngOnInit() – Call the
getPostData()method, and get data in to postDataListing array when component is initialized.
Step 5: Display Data on HTML view file
For displaying all post data we can simply call a for loop wiith postDataListing array
|
1 2 3 4 5 6 7 8 9 |
<div class="container"> <h3>Blog Posts:</h3> <br> <div class="blogPost " *ngFor = "let postData of postDataListing"> <h3>{{postData.id}}. {{postData.title}}</h3> <p>{{postData.body}}</p> <hr> </div> </div> |
You can also see the working demo below.
[paypal-donation]