Html to wordpress conversion step by step
A step-by-step guide for converting your static HTML into a WordPress Theme.
Setup your WordPress environment.
1. Get Ready!
- You need to installed WordPress.
- You have an HTML/CSS/JS template ready to go.
- If you don’t have a template, feel free to use the demo and follow along
2. Creating your Theme Style.CSS File
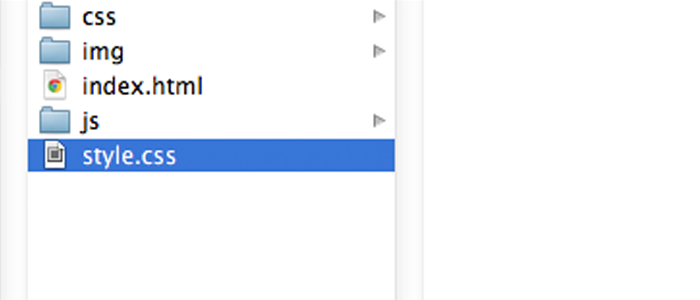
The top of your “style.css” file must include the following commented information:
|
1 2 3 4 5 6 7 |
/* Theme Name: Blog Name Description: A simple photo blog Version: 1.0 Author: w3reign.com Author URI: https://yourwebsite.com */ |
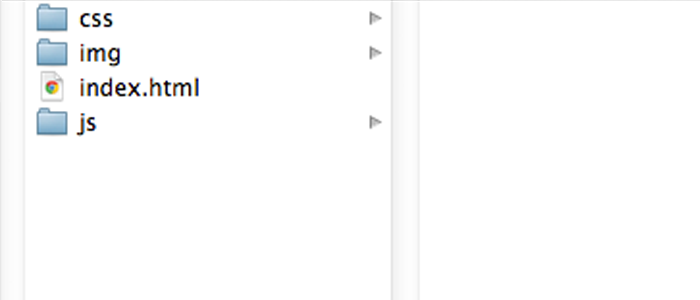
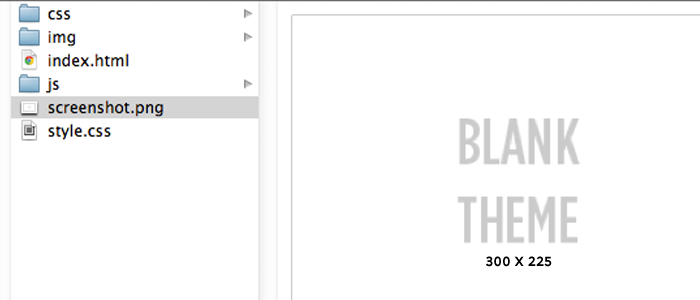
3. ScreenShot - Set your theme screenshot
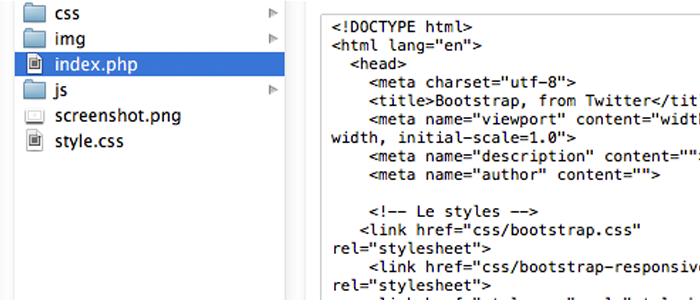
4. Create a index.php file or change your .html file to .php
5. Activate the Theme
And then go to your admin panel: www.yourdomain.com/wp-admin
In Appearance->themes you should see your theme.
“Activate” it. If there’s a problem and you don’t see your theme, you haven’t followed the steps above correctly, so review and try again.
6. wp_head(); - making Head Dynamic
|
1 |
<?php wp_head(); ?> |
This tag is used to find ending for Head tag closing for many plug-ins to insert code into your head.
7. wp_footer(); - Making Footer Dynamic
|
1 |
<?php wp_footer(); ?> |
8. body_class();
|
1 |
<body <?php body_class(); ?>> |
9. bloginfo() - Adding/Making Css, Js and images files path
For example, all of your CSS needs to be prepended with:
|
1 |
<?php bloginfo('template_directory');?> |
…like this:
|
1 |
<link href="<?php bloginfo('template_directory'); ?>/css/main.css" rel="stylesheet"> |
10. header.php / footer.php
Here’s what you’ll do. Take the code from your index.php and refactor it into 3 sections:
Put all the code of your header in header.php file like all css links, header tag, navbar etc. and same put all footer code in footer.php file.
In index.php use this include tag at the top
get_header();
and this one at the bottom get_footer();
This will call header adn footer files code into index file.

11. sidebar.php
Then call the sidebar.php file using the snippet:
|
1 |
<?php get_sidebar(); ?> |
if your site doesn’t have a sidebar, you don’t need to do this.
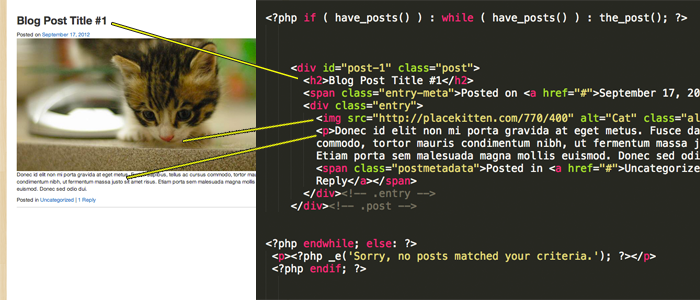
The Loop
12. Install The Loop
This goes before the area you want to loop:
|
1 |
<?php if ( have_posts() ) : while ( have_posts() ) : the_post(); ?> |
And this goes after:
|
1 2 3 |
<?php endwhile; else: ?> <p><?php _e('Sorry, no posts matched your criteria.'); ?></p> <?php endif; ?> |
Check it out in action:
13. Loop Specific Template Tags
|
1 2 3 4 5 6 |
<?php the_title(); ?> <?php the_content();?> <?php the_excerpt();?> <?php the_category(' ');?> <?php the_author(' ');?> <?php the_time('l, F jS, Y')?> |
|
1 |
<?php edit_post_link(__('Edit This Post'));?> |
14. Permalinks
The tag looks like this:
|
1 |
<php the_permalink();?> |
|
1 |
<h2><a href="<?php the_permalink(); ?>"><?php the_title(); ?></a></h2> |
15. functions.php
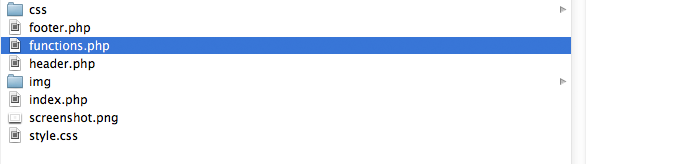
Functions.php – this file loads everytime you load a page on your site. It’s like a helper brain that WordPress consults.
By default you don’t need it. And in that case WordPress just goes about its business. But if we’d like to add some commands we can highly customize WordPress.
For beginners without much PHP experience, the functions.php file will be very confusing, as we can only write PHP code in here.
Therefore, I’ve tried to explain best I can how to do the basic necessary customizations. Beyond this, I’d suggest learning more about PHP Functions and WordPress
For now, create it, but keep it blank if you don’t know what to do.
16. Navigation Menu
|
1 |
register_nav_menu('main', 'Main navigation menu'); |
|
1 |
<?php wp_nav_menu( $args );?> |
Let’s say, wrap this in a “nav” container…
|
1 |
<?php wp_nav_menu(array('container' => 'nav') );?> |
|
1 |
<?php wp_nav_menu(array('container' => '') );?> |
17. Sidebar Widgets
The FIRST thing is to Register Your Sidebar by adding this line somewhere in your functions.php file:
|
1 |
register_sidebars(); |
|
1 2 3 |
<?php if ( ! dynamic_sidebar() ) : ?> <?php endif; ?> |
[paypal-donation]